DIFFUSING 101

TO DIFFUSE OR NOT TO DIFFUSE? 

The diffuser attachment is one of our greatest tools and if your blow dryer did not come with one… side eye. Luckily, there’s some universal ones you can use and you’ll want to after you learn how to use it! Keep reading for the step-by-step guide after you learn why diffusing is more than just a fabulous way to finish your hair; it can also be healthier than air drying. If you are new, I introduce you to: The Manes by Mell Hover Diffuse.

Where Did this Come From?

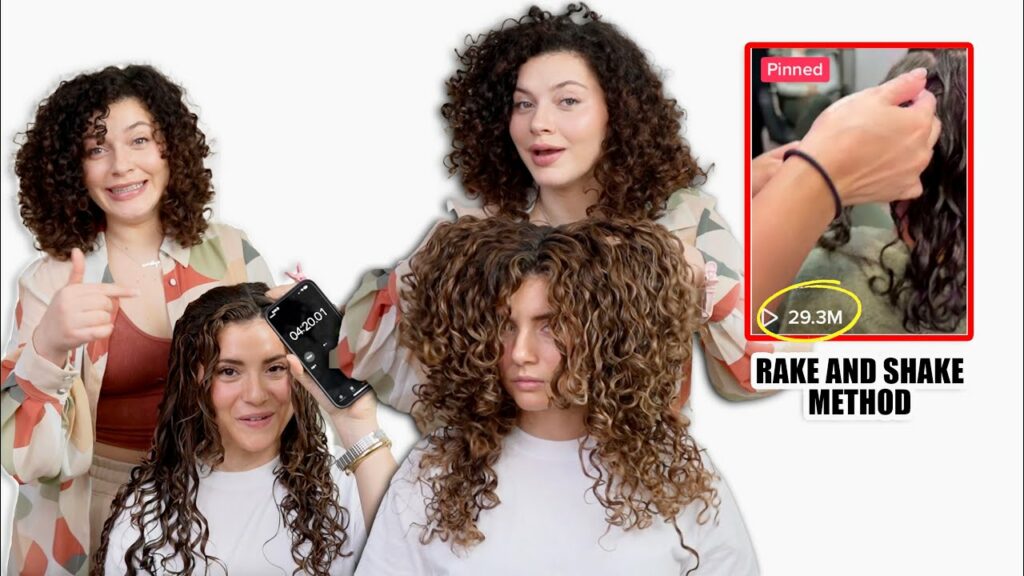
I coined this method of diffusing when I discovered a more logical way to diffuse hair while I was practicing hair in school. I was taught to use the diffuser like a bowl to scoop up and scrunch the hair but that can create a lot of frizz if not done properly. Don’t get me wrong, some frizz is good, I love it, it helps give volume. BUT, when you blow air from underneath the hair, you can wake up flyaways and also rough up your cuticle. Before coming up with this, so many curlies (including me) preferred air drying the hair – which naturally took hours on end and resulted in looking like a wet dog for half the day. No disrespect to the canines but I knew there had to be a better way. Use a hood dryer? It’s certainly a better option but the hood is so restricting and most people don’t have a hood dryer at home. And then everything changed, I figured out this new way to dry the hair with much less frizz. Only later to discover this method is also healthier for the hair.

Why Use the Hover Diffuse?

The #1 way to avoid damage and frizz is to: Hover Diffuse. This method is to mimic what air drying or using a hood dryer would do, but speeding up the process tenfold and acquiring a lot more movement. It involves holding your blow dryer approximately 15cm or 6in from your hair, which is scientifically proven to be the healthiest way to dry your hair, even on high heat because it is indirect heat. Your roots take the longest to dry, so even if you are short on time, hover around your roots upside down for a couple of minutes. This will allow your ends to begin air drying and get a head start on your roots to catch up. This will also give more volume and curl definition to your roots. The key is to keep the dryer moving so it is not in one place for too long, and the hair will dry evenly.

FRIZZ FREE DIFFUSING: STEP-BY-STEP

Step 1: Prep and Style before you dry!

Before you start diffusing, make sure to give your curls the hold they need to make it through the drying process. Make sure that you have properly worked in your product and met all the key components: Prep, Style, and Finish. This will ensure that your curls are defined and frizz-free when dry.

Step 2: Use the Right Setting to Set Up for success.

Set the speed of your blow dryer and diffuser attachment to the right level. The diffuser’s purpose is to soften the air flow without disturbing the curl pattern. If your curls are being blown away, turn down the speed. While high heat may get the job done faster, some people prefer results using a cooler air setting. When Hover Diffusing, I don’t stress about using hot air but would recommend a medium/low heat when using the diffuser directly on your hair/ends to scrunch (that’s Step 5).

Step 3: Avoid Touching Your Hair.

The more you fuss with it, play with it, or move it around, the less defined your hair will be. You want the hair to set (feel slightly crunchy from your Styling product and be about 85% dry) before you can touch it with your hands.  If you are just getting started with diffusing, don’t touch your hair at all until it is dry to the touch.

(PRO TIP: you know the hair is dry when it is not cold)

Step 4: Start at the Roots.

This is where the Hover begins. Doing this will allow your ends to begin air drying and get a head start on your roots to catch up since they take the longest to dry. For maximum lift and movement, gently flip your head over upside down to start your diffuse. Hover around your roots upside down for a couple of minutes. Periodically flip your head and do each side.  leaning back, and then forward again to achieve movement in your roots. This will ensure that your curls dry in a natural-looking way without sticking to your scalp.

Step 5: Leave the Ends Till the End.

“Leave the ends till the end” – mid-way through diffusing, if more bounce and curl enhancement is desired, scrunch the hair strategically with the diffuser. Allow curls to fall in place over the attachment and scrunch up to the head, hold for 10-30 sec and release. This will set the curls and cause them to shrink up more if desired. Because the attachment will directly touch your hair, make sure your air isn’t too hot (especially if you have not applied a heat protecting Prep product). This step can be skipped if you prefer a more natural, relaxed curl – just Hover Diffuse to give the effect of air drying with the efficiency of diffusing.

Step 6: Finish Your Hair!

You did it! Or maybe you didn’t do all of it, but as long as your roots are semi-dry, you are good to finish air drying. When the hair is no longer damp or cold to the touch, it is completely dry and you are ready to complete your Prep Style Finish routine! You may find that your hair feels a little crunchy from your Styling products, or it might feel less crunchy than usual because diffusing your hair will soften some of the crunchy cast. Depending on your desired look and feel, you can use a light hair oil/smoothing serum or a hair spray to complete the routine.

In regards to what tools to use, I will always recommend the Dyson Supersonic if it fits the budget. It’s an investment for your hair and as someone who diffuses every wash day and wants to get the job done quickly without frizz.

Read more about what makes this dryer different and why I love it:

Dyson Supersonic™ Hair Dryer, Nickel/Copper
Chuancheng Diffuser and Adaptor for Dyson Airwrap Styler Into A Hair Dryer Combination
Dyson Supersonic™ Hair Dryer, Nickel/Copper
Chuancheng Diffuser and Adaptor for Dyson Airwrap Styler Into A Hair Dryer Combination
-
-
Amazon Prime
Amazon Prime
Dyson Supersonic™ Hair Dryer, Nickel/Copper
-
Amazon Prime
Chuancheng Diffuser and Adaptor for Dyson Airwrap Styler Into A Hair Dryer Combination
-
Amazon Prime

For more tips and tutorials, see the videos below!

3 OF THE BEST WAYS TO DIFFUSE CURLY HAIR (for definition, volume or elongation)

4 CURLY HAIR DIFFUSING MISTAKES THAT EVERYONE MAKES + HOW TO FIX THEM

Explore More

Hair Health

DETANGLING 101

Detangling can be a frustrating, time-consuming and even a painful task, especially if you have curly, high porosity, damaged, fine, or chemically treated hair. In this blog post, we’ll cover the different types of tangles (single strand knots, tangled hair, and matted hair) and how to tackle them. Tell your

Read More »
Product Recommendations

Our Current Hair Care Routines

Mell’s Routine Products The world and my curls are constantly evolving. Occasionally, as the seasons change and new products come about, I will welcome different things into my routine. If you want to know what’s in my hair currently, this is where you can check regularly for updates! AG Care

Read More »
Product Recommendations

Save or Splurge?

When it comes to taking care of your hair, quality products can make all the difference, BUT – expensive doesn’t always mean better, and these are areas you can cut costs in your hair care routine in my humble and professional opinion. It’s time to decide if you can “Save

Read More »

Featured Products

Copied! ... Redirecting to Retailer