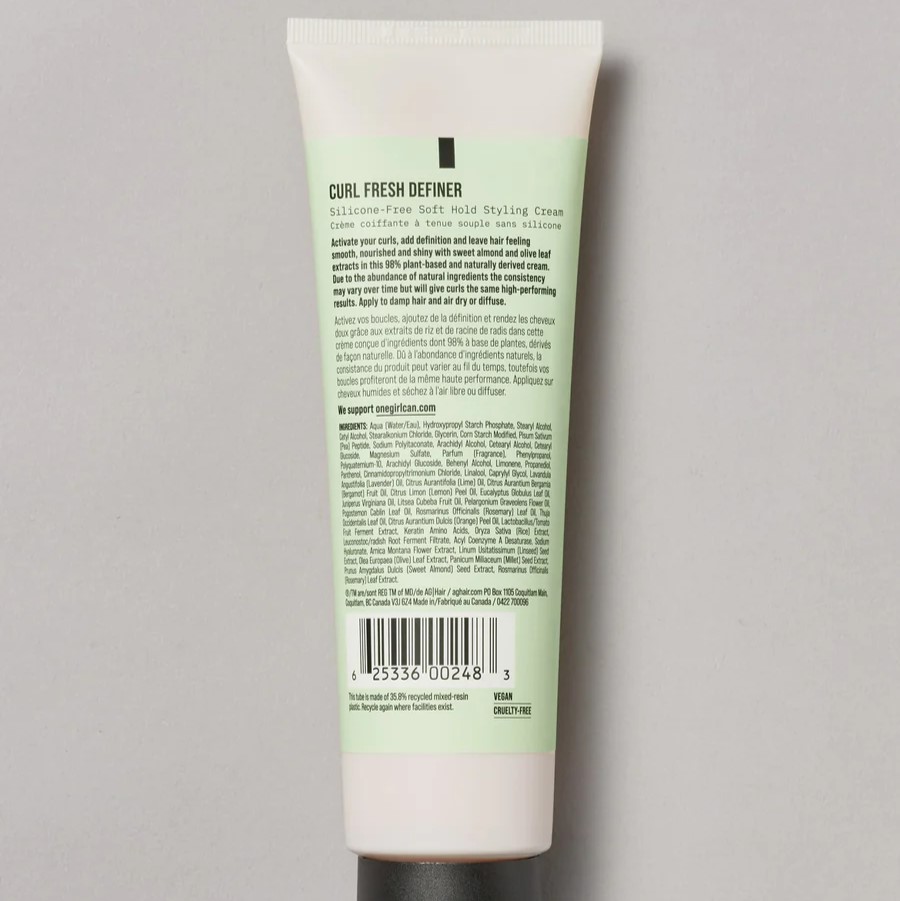


Product Recommendations
Products to Treat Your Frizz
Use this guide for product recommendations to treat YOUR type of frizz (damage, dry, unstyled, and/or wet frizz) WHY? This is not to shame frizz. We love a little frizz, for the volume, for the vibes, for the curls they are capable of creating! But frizz, whether viewed as a